Recent Posts

Essentials for the Sewing Room

Cover Image
  1. Tailor chalk/water dissolvable marker
  2. Clear/grid ruler (6"x24")
    • The ruler is 1/8 thick, and has griping markings on back so it doesn't slip and use it as a straight edge to run the rotary cutter along to make straight cuts of fabric.
  3. Cutting mat
  4. Fabric scissors (different sizes)
    • Spend the cash on a good pair of shears and a good pair of scissors.
  5. Hook/eye closures and clear buttons
  6. Lots of pins/pin storage/magnetic pin cushion
  7. Measuring tape
  8. Peg board
  9. Popper studs
  10. Roller foot
  11. Rotary cutter
    • Be careful to keep your hands out of the way. It it helpful when cutting out quilts but not much else in my oppion. The longer I sew and the better I cut, the more I find a rotary cutter bothersome, particularly for straight lines.
  12. Seam gauge
  13. Seam ripper
  14. Snips
  15. Spool and bobbin storage

Also magnetic pin cushions are a total godsend, especially if you're prone to dropping your pincushion. You can collect any rogue pins by metal-detectoring it on the floor, plus you don't have to worry about dropping pins/looking at your pincushion as much when you're busy looking at what you're pinning.

Though this is not a must by any means.

Also I find having a tester zipper that you can practice with inserting was super handy in the beginning.

Feel the Fertilizer Burn

Cover Image

Try not to use products that mix fertilizer with weed killer or pre-emergent. This is a common mix so you will have to look hard so as to avoid it.

That said, you will also want to pay attention to the release. This is important and it is the main differenc, at least from what I have heard between cheap and quality fertilizers.

A cheap fertilizers will often have a lot of urea (fast acting) nitrogen added to it. There will be a lot of top growth and the nitrogen will be used quickly. If they are not watered in deeply and/or using them during a hot day, then cheap fertilizers will burn the lawn.

Quality fertilizers on the other hand have a higher percentage of slow acting nitrogen that are safer to use and last a lot longer.

Milorganite is clearancing at $5 dollars for a 35# bag across the country right now.

I have heard it's both Walmart and Home Depots. So the cost factor isn't really true if you pay attention to sales and that is how you get your quality fert. It comes down to certain environmental factors for each individual. Both will get you there for your lawn.

But it may be hard understanding how this actually comes into play when you start applying the fertilizer on your lawn.

The easiet way to solve this problem for me has been to ignore the weight of the fertilizer bag and simply divide the amount of nitrogen desired (1.0 lb nitrogen per 1000 sq ft) by the percentage of nitrogen in the bag (26%). When using percentages in calculations, convert the number to its decimal form (for example, 26% = 0.26; 5% = 0.05).

Another common problem involves determining the area that a bag of fertilizer can cover and how many bags are needed to cover large sites. This is mostly based on peoples gut feeling rather than an understanding of the task at hand.

I guess what I'm saying is develop a plan, and then use products appropriate for that plan. Not the reverse.

The First Stitch

Cover Image

After my first kit I realized that, even though it had been a lot of work, I really didn't dislike quilting. So while that is how I ot introduced to quilting, it really isn't how I got started. I got started by researching the English Paper Piecing technique and in the process.

Just do a Google search and you will find links to tutorials and a wide selection of precut paper pieces for sale. If you do not want to buy the papers, they even provide an 8.5 X 11" template for you to print on card stock and cut out your own!

I'm currently working on a grandmother's flower garden quilt right now. It's a long work in progress because I'm doing English paper piecing. Warning, English paper piecing is addictive!

This one is for skilled quilters but you can get templates from paperpieces.com as someone mentioned. The website has instructions on how to do it too. But here is what I do. I got a handheld punch cutter from JoAnn's in the scrapbooking section, it's a Fiskers XL hexagon.

Then I got some cheap cardstock from the same section and I punch my own.

I have branched into the hand sewing/quilting world with ease, and mastered it so well in about a year, that I have led classes on the subject. You will not believe how simple it is. Plus, with a little preparation, you can take your project anywhere and sew in "stolen" moments rather than making available the huge blocks of time necessary for machine piecing. I always reuse my papers and I never baste through the paper so I don't have to remove the basting stitches, because I'm lazy. Even lazier, I've been glue basting with Elmer's washable glue sticks.

There are tutorials on YouTube for EPP which are helpful to really understand the process.

If you machine piece, the hexagons will require you to master the Y seam for the grandmothers flower garden pattern. I prefer the fast method of whip stitching but you will see some stitching using this method so you will want matching thread.

Notes
Putting it all together

Glue Baste vs. Thread Baste

I will say this, glue basting is faster and easier on your hands. However, if you think it will take months or years to complete the quilt, you might prefer the more secure thread basting method. Over time your basting glue may become brittle and cause the fabric to loosen or detach from the paper pieces, especially if exposed to extreme temperatures during transit or storage.

Of course poking holes in the edges for thread basting will do its own damage to the papers during each use as well. If interested; you could leave the papers inside the quilt for added loft.

It is simple to thread baste through cardstock.

But be warned, it will make your needles very dull very fast.

Removing the basting is not such a big deal if you take very large stitches. In a one inch hexie, for example, I will only take one stitch per corner.
The Every Present Ironing Board

Cover Image

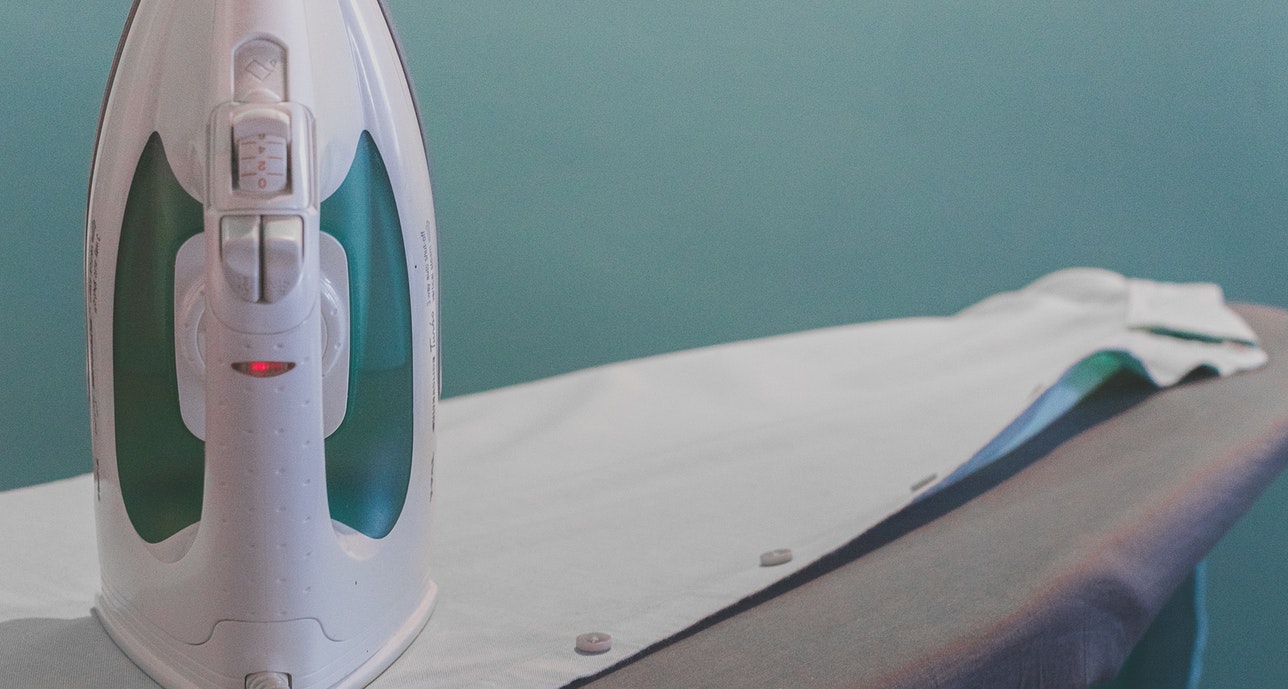
I would buy the typical cheap steam iron that you buy at one of those cheap department stores that sells everything. They are suitable for home sewing needs and last a long time if you take care of them.

As for the ironing board, more in a moment.

I have had a love hate wirh irons. When you sew you need to use one. And you need to use it often, but that means damage is bound to happen.

My first Rowenta had a self winding cord which was on the bottom of the iron and it only took a week or so until it tipped off the board, landed hard, and broke. The center of gravity was nonexistent.

My second Rowenta's thermostat broke after 6 months.

I then went and bought a Hamilton Beach for less than $30 bucks. It heats up quickly, doesn't leak, doesn't weigh much, and gives sufficient steam for my purposes.

Some folks might need an iron with more/better steam, but it's fine for me and it was in my price range after the others stopped working.

As for the board, and this is why I like leaving it out, rather than finding a place to store it, was made using a piece of concrete that is water/mold resistant from a hardware store. The baord was 3' x 6' and we paid approximately $12 for the whole thing. My husband used this tutorial: http://m.youtube.com/watch?v=2uGVYK-VeNs and it was pretty easy to make. Those are his words, not mine.

I have been very pleased with this iron board, I just fear the day that I won't have space for it anymore.

But let's hope that that day is a long day away.

Tomato Care

Cover Image

I think one of the things that make owning your own home so enjoyable is all of the freedom that you have when it comes to your yard. I have wrriten before about lawn and garden care, but today I want to do something a little different.

When we were young we lived in an appartment. We were living in a loft in Frisco and I was trying to grow a couple of tomato plants on our balcony. This was the nicest thing about the loft.

Well they got ungangly. And I didn't know what to do with them. Was it safe to cut off branches that too thick? Was there such a thing as "too thick?" I had no idea.

A real treat

Now, years later I got a lot better at this whole gardening thing.

To clarify, don't cut them. When I did that, I bet you wouldn't believe it, but they stopped growing. At least as well as they had been, and our tomato production dried up. I quickly learned that when you cut off flowering branches you don't get any tomatoes whatsoever!

Instead, find a way to trellis them, or support their weight and then get prepared to eat many tomatoes! If you cut off leaf branches you will rob nitrogen from the plant, which will make it unhealthy and it won't put out for you.

If you want to grow them in a small space you may want to look at the determinate variety of tomatoes. They are often much smaller, faster growing, good for containers, and still give you lots of lovely little fruits. The bonus to determinate tomatoes is that they often put out all their fruit at once. So if you care for it well, you'll wind up with a nice bucket of tomatoes from just a few small plants.

Oh So Minky

Cover Image

My first quilt was a baby quilt for our daughter. It was one of those with a synthetic minky "cuddle" fabric. I wish I would have used another backing because synthetic fabrics mat up. A lot of people don't realize this and wash the minky/fleece backed baby blanket as they would everything else. That softness goes away quick! So make sure you keep in mind they have to be washed on gentle, that's always made me hesitate for something for a child.

I do understand the allure of soft minky, it's super soft and cuddly, but it is also stretchy. On a normal machine, this can be an issue and you may find it very hard to deal with. I swore that I would never do it again, but here I am still using it. I actually like it better than longram.

But it has gotten easier.

The planning stage

My process for the most recent quilt I did went like this:

  • Pin the top and bottom of the backing onto the rollers.
    • Minor stretch width wise, the trick is to put as little tension as possible at this step.

  • Start winding the rollers, keeping the end even.
    • Don't force anything in place, just smooth it out.
    • This minimizes stretch, and applies an even stretch length wise.
  • Float the batting and top over the backing, pinning where necessary.
  • Use side tensioners and make sure to grab firmly onto the backing and batting.
    • Judge your tightness based on the quilt top rather than your backing.
  • And mark everything. Before you get started. If you draw your lines ahead of time that can save you quilting time and this makes for a fun quilting experience.

    You can learn everything about quilting, but it just takes time, practice and some nerves!